Day 2 16v Lysholm motor
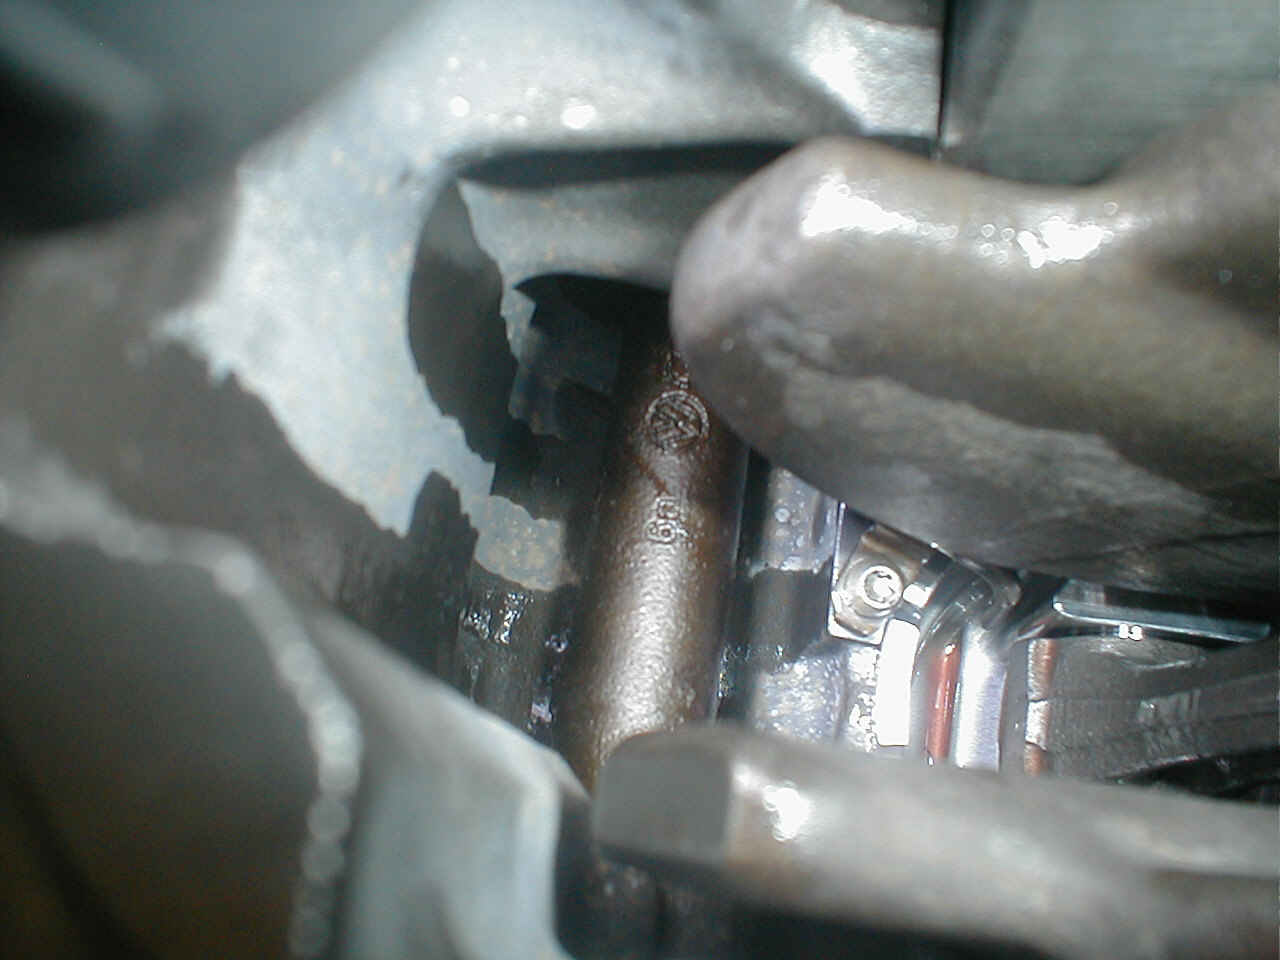
After removing the squirters and grinding them down, the crank will rotate freely.
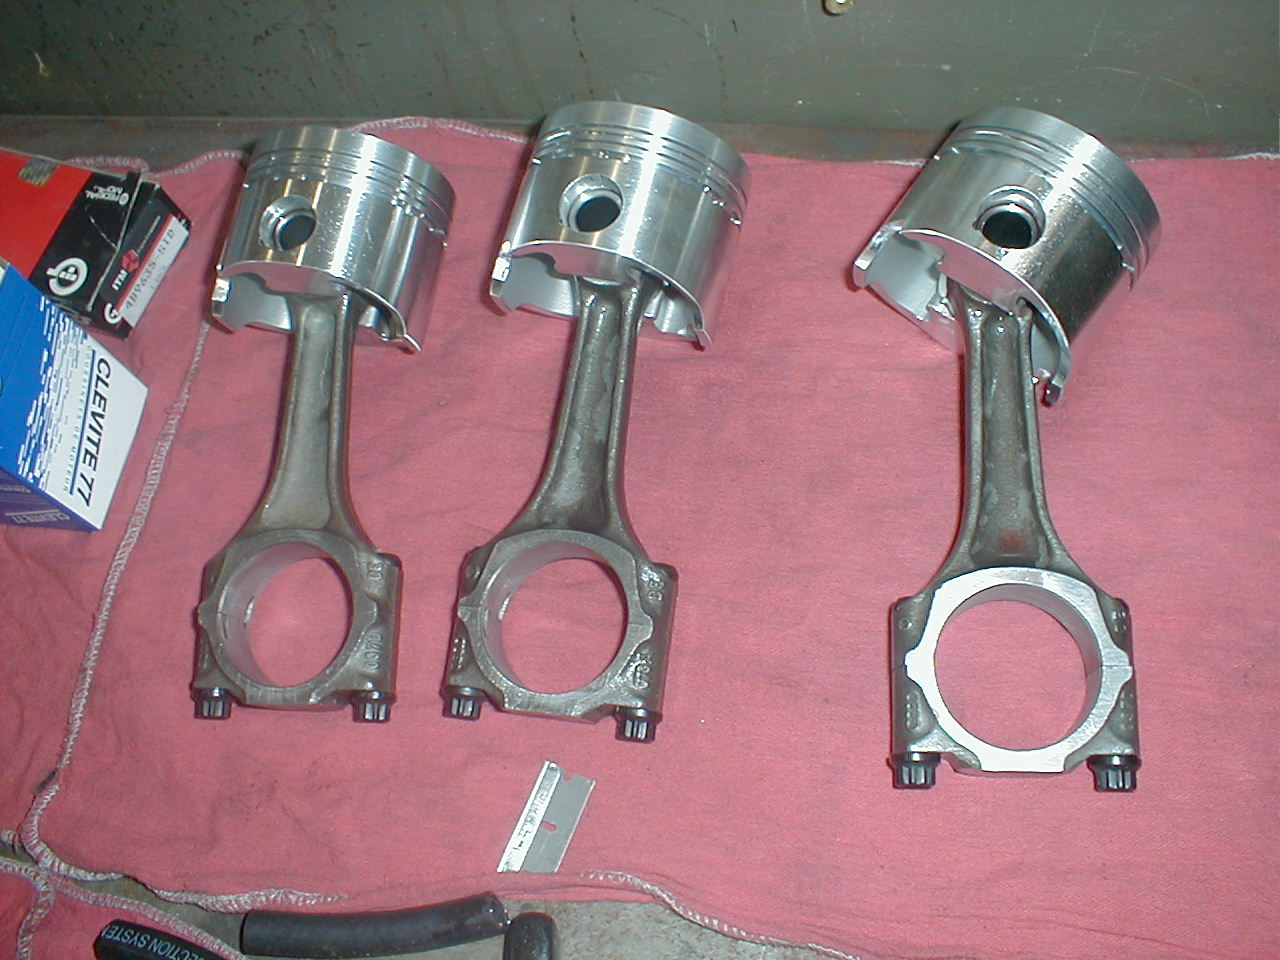
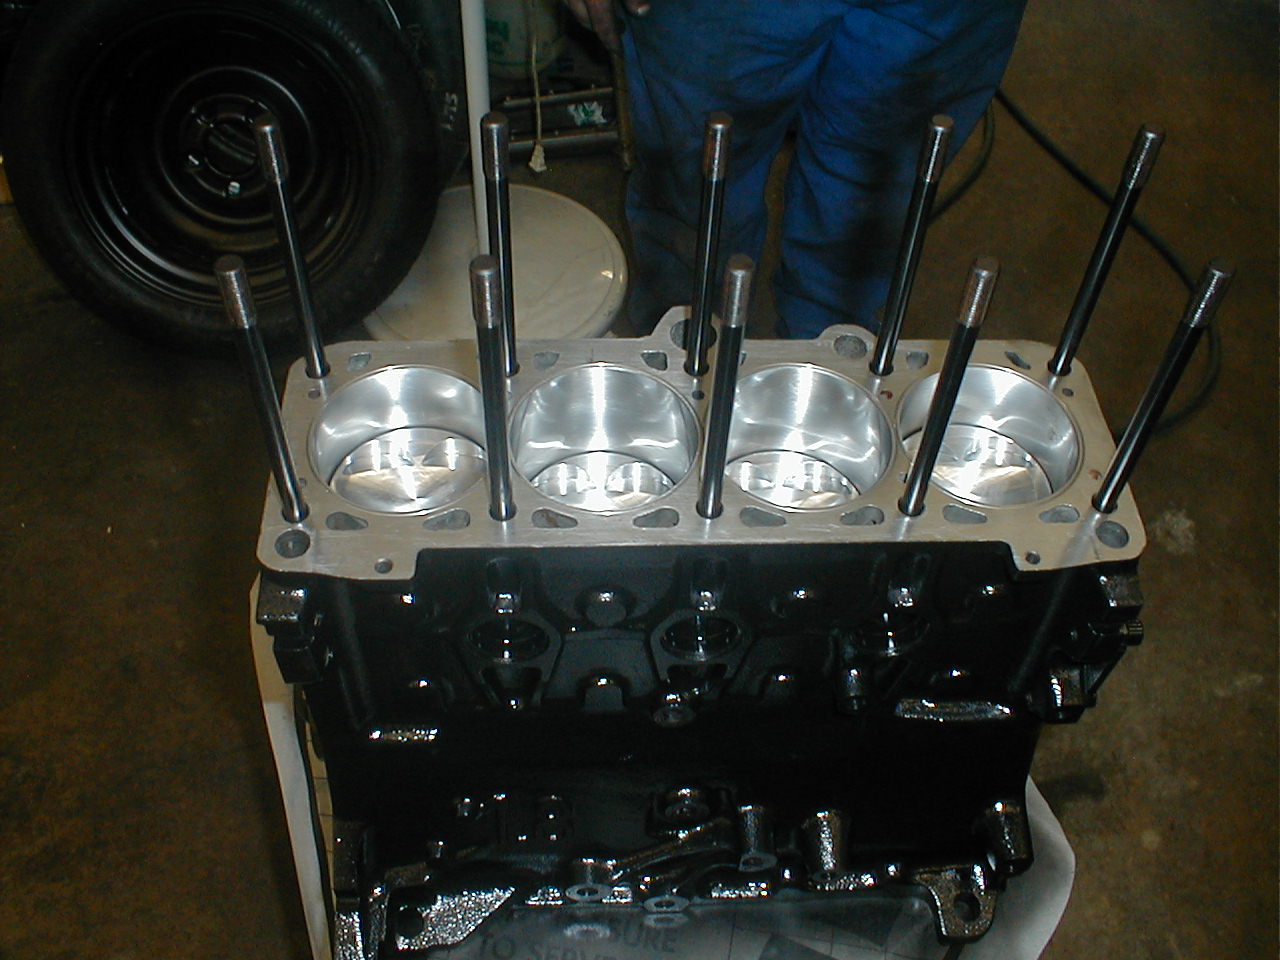
Ross Forged piston hung on G60 1.8 rods
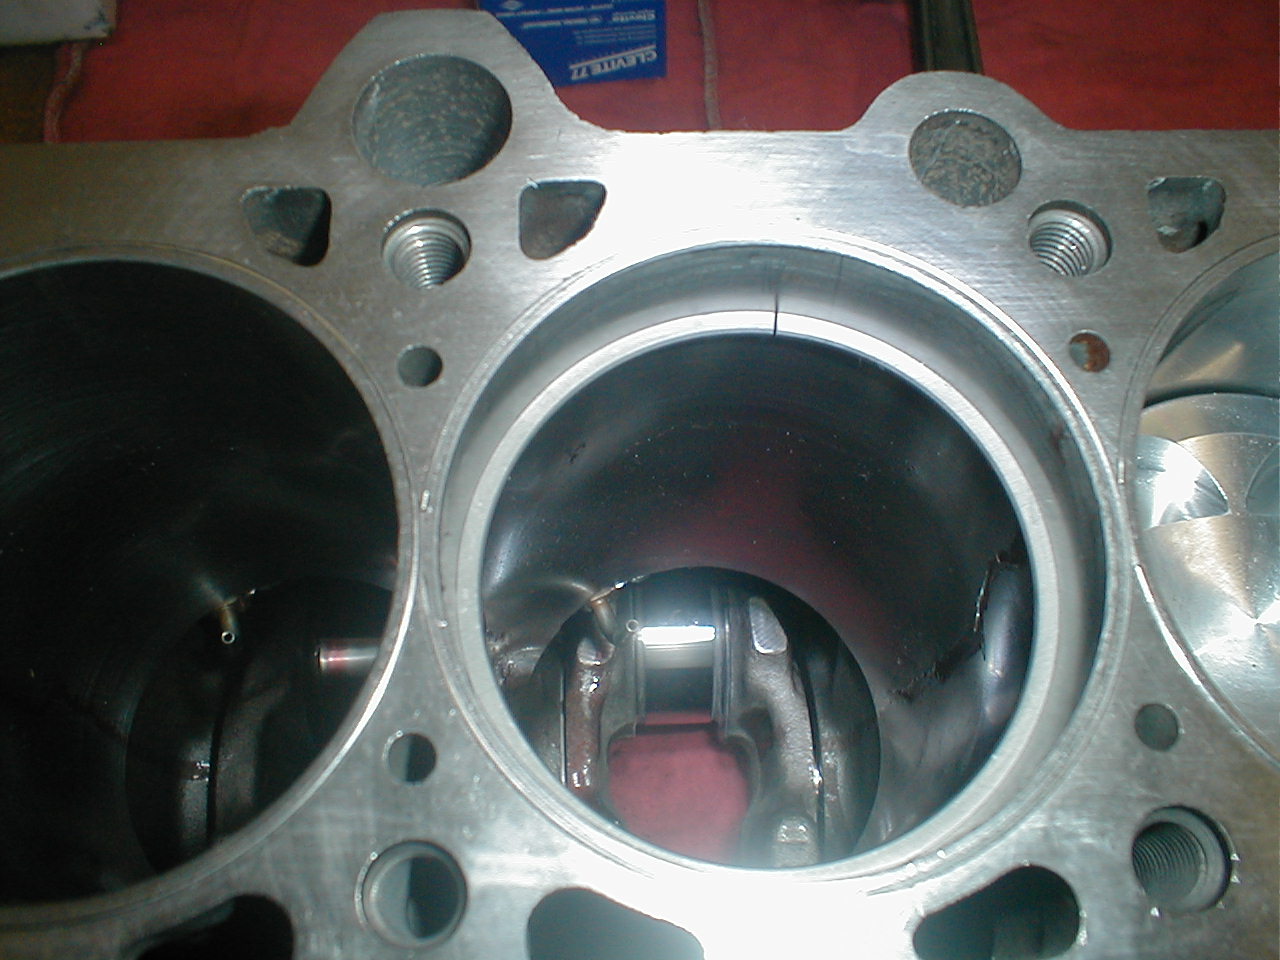
The top compression ring is installed into block to check ring end gap spec is .0012"-.0018" , these were right in the middle.
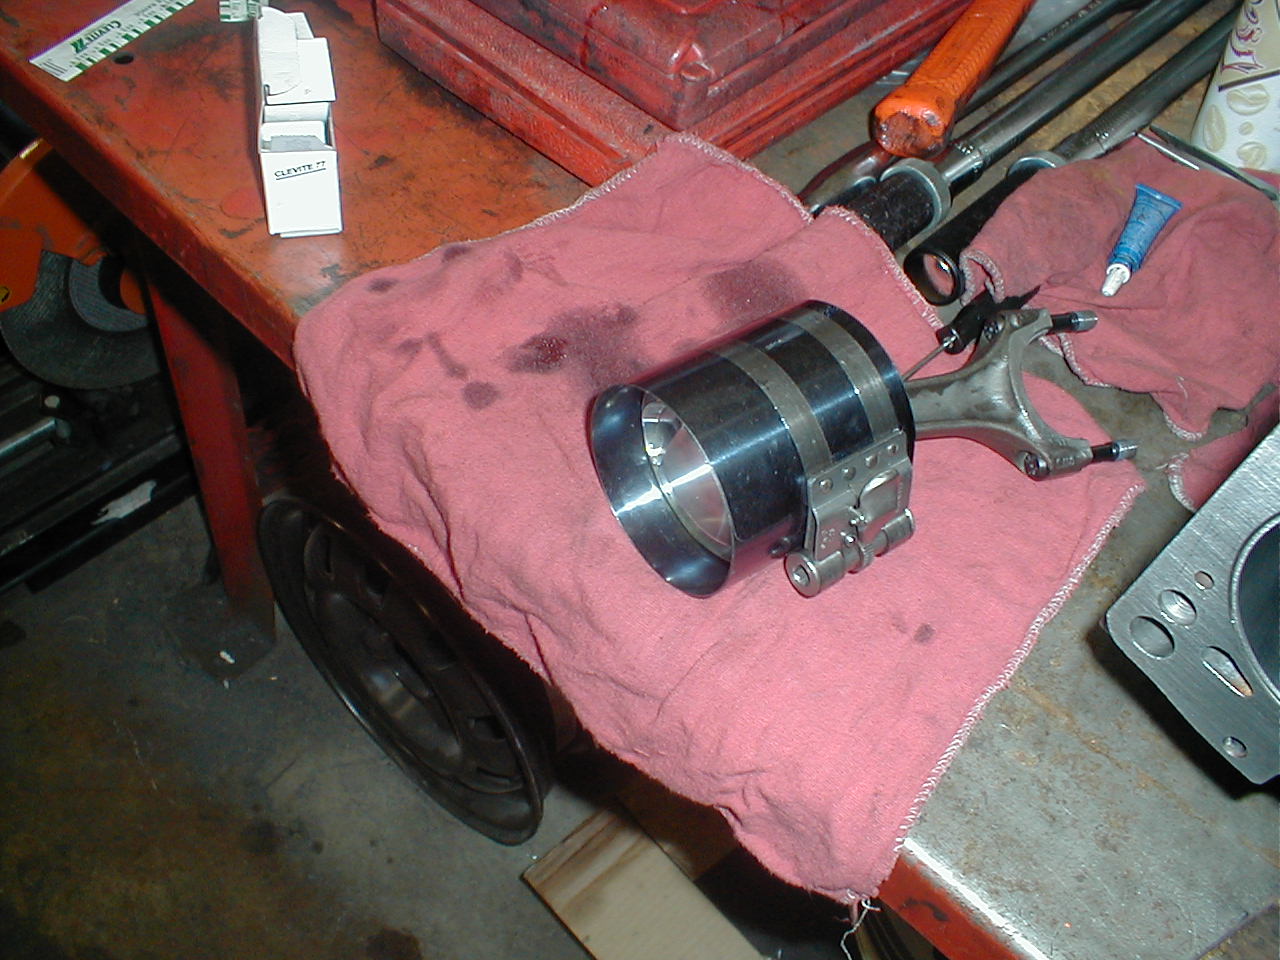
This is a ring compressor. It is used to squeeze the rings into the piston ring grooves while installing the piston in the block. Rings should be installed with the gaps as far away from the other ring gaps as possible. The upper compression rings were installed 90 deg off the wrist pins and staggered 180 degs. off of each other. The oil scrapper rings were install in 120 deg staggers.
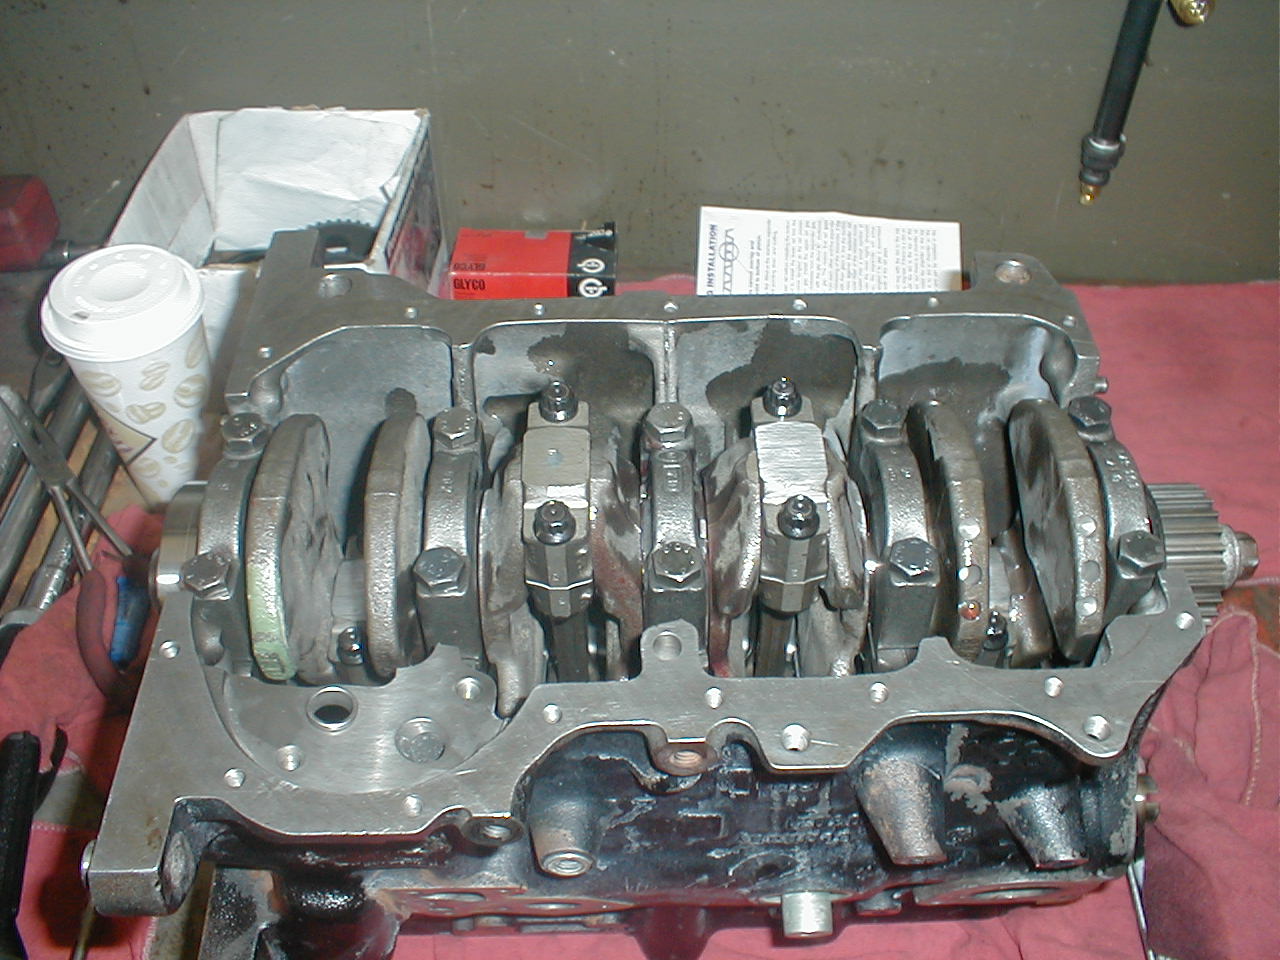
All the pistons and rods are installed. The rod bearings were plasit-gauged. They were .0015", which is right where we want them. The rods bolts are High tensile steel ARP bolts. They are torqued down to 40 ft-lbs. They were tightened and loosened three times. The best way to tighten rod bolts is with a strech gauge that measures the actual stretch of the bolt.
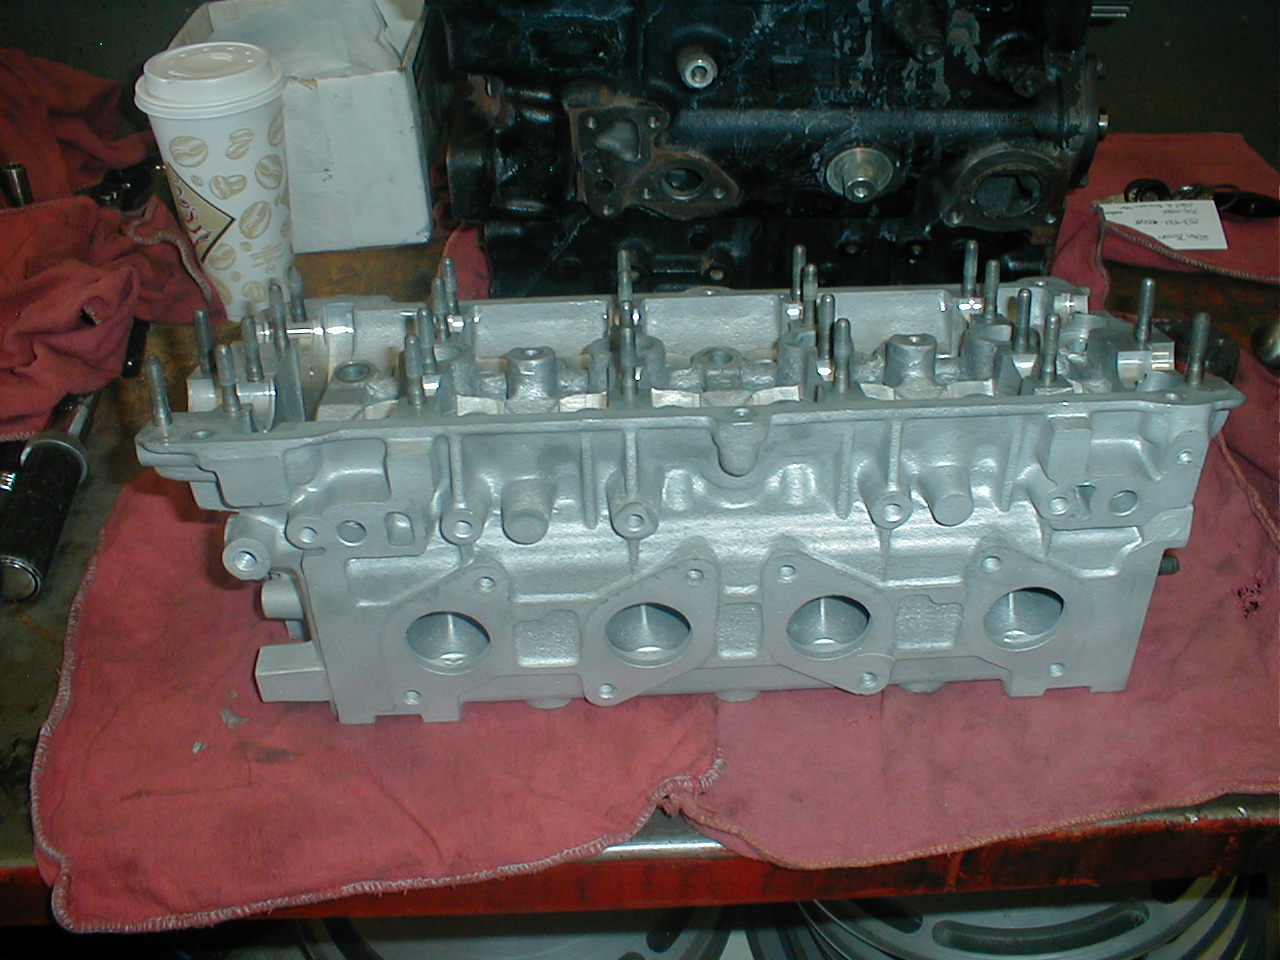
This is the head from a 87 16v Scirocco PL code 1.8 liter motor. Head was checked for cracks, bead blasted and had minimal decking. All guides were replaced, seats and valves three angle ground and new Viton valve seals installed. The ports are fairly clean on the PL 1.8 motors. They would benifit from porting, but flow far better in stock form than the 9A 2.0 16V head.
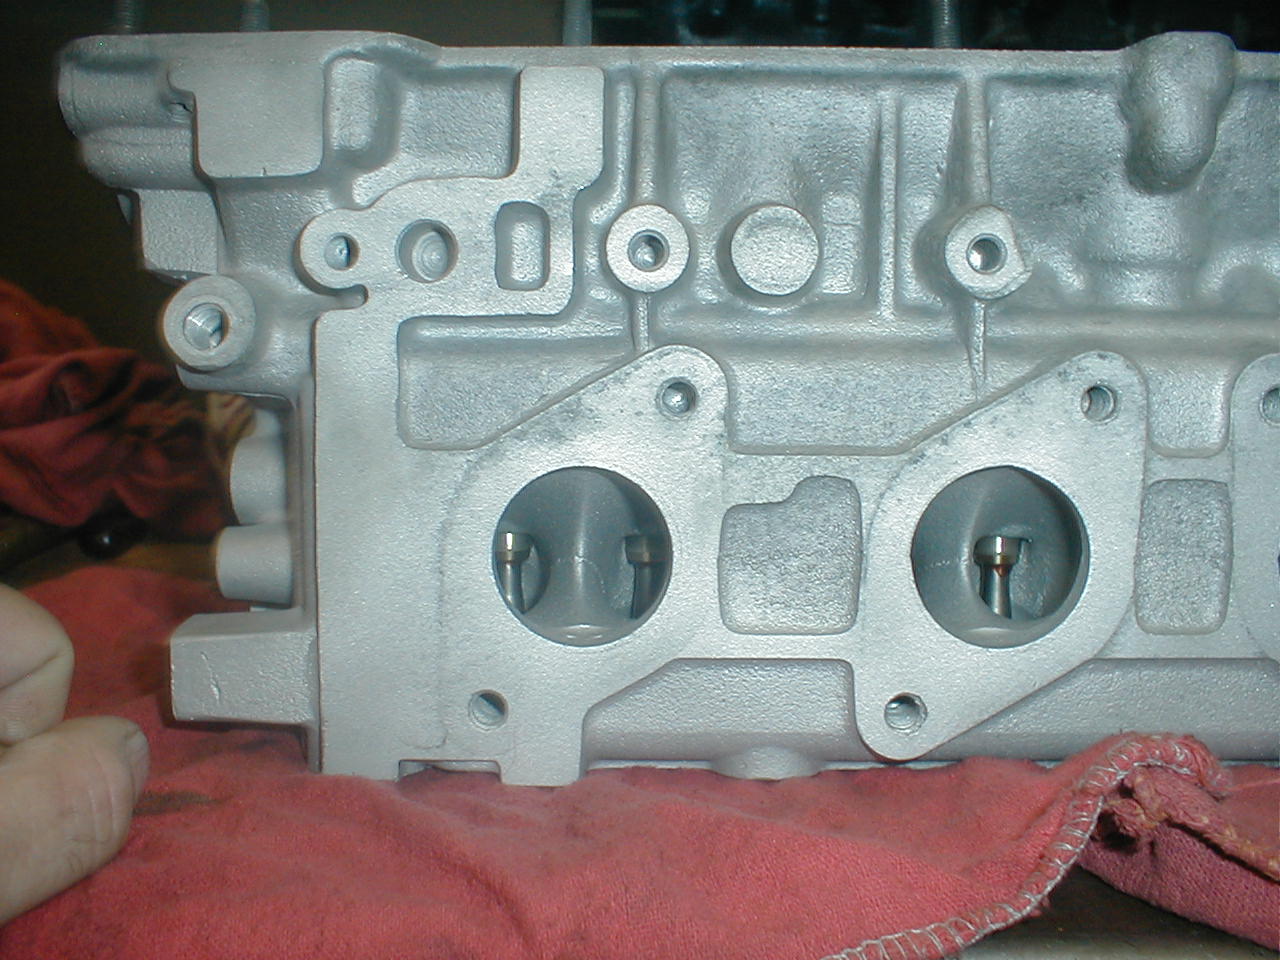
Exhaust ports on 1.8 PL 16V head, notice the brass guides and valve stems.
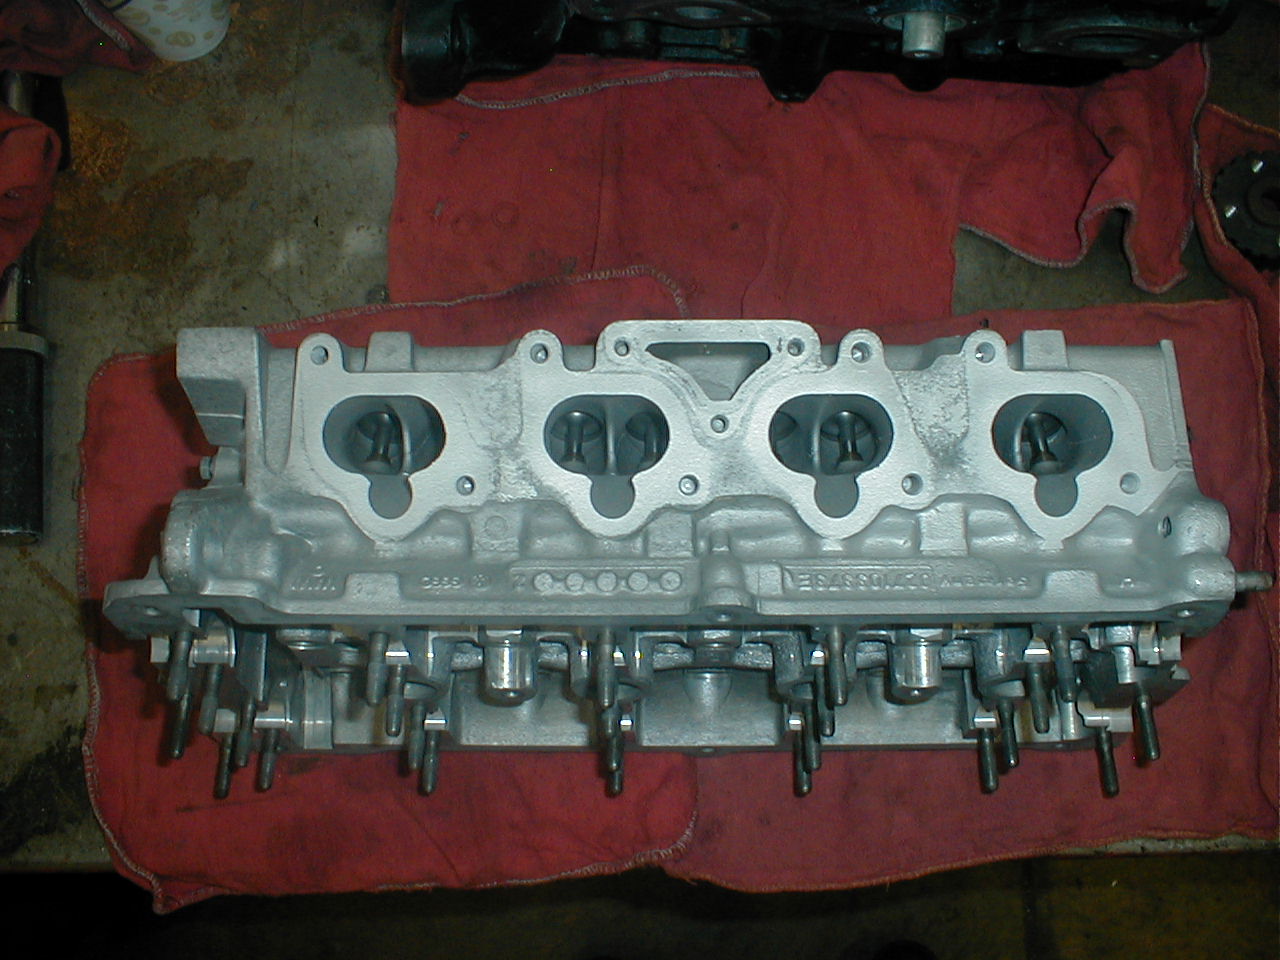
This is the intake side of the PL 1.8 16V head. The 9A 16V head has much thicker webbing between the intake vales. As you can see, these heads flow very well.
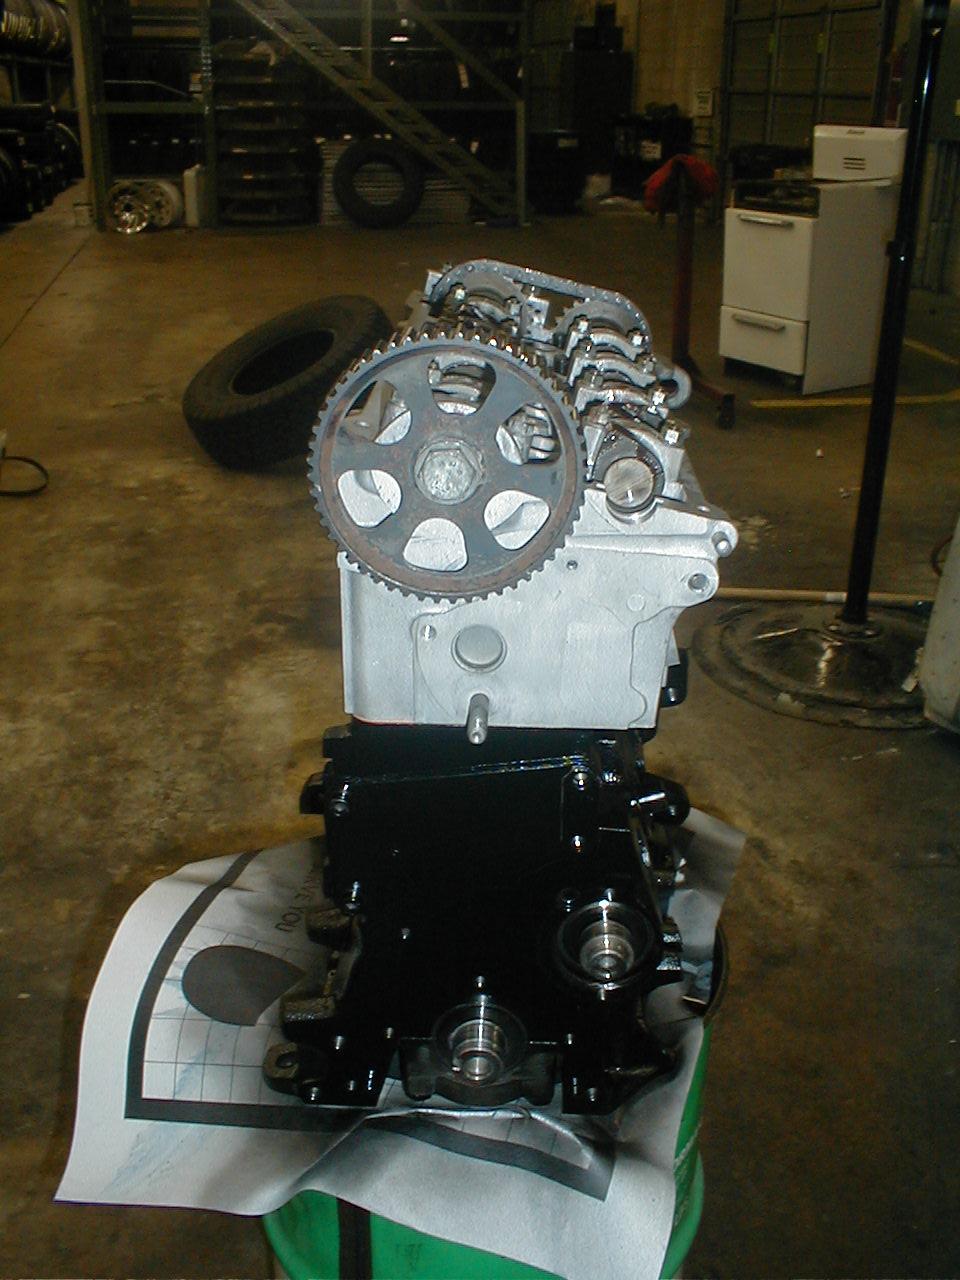
This is the G60 block, loaded for bear, with a new coat of paint, forged pistons and ARP head studs. You can also see the stainless steel O-ring around each cylinder bore. The 0-ring helps keep compression in the cylinder and also keeps the copper head gasket from "wiggling" under boost.
The cylinder head, reassembled with cams and lifters. Be carefull with the cam bearing caps. They only go on one way. Be sure to carefully mark them, or take a picture before disassembly. The timing chain keeps the rear (exhaust) and front (intake) cams in time. The timing marks need to be lined up while installing the cams. This design prevents changes in valve overlap, which would really help forced induction. I want to machine the cams to extend through the head, out the distributor and valve cover and make an adjustable setup that I could play with. Maybe with my ABA 2.0 and after market fuel and ignition, but for now I am stuck with a distributor.
One major diferance on the G60 blocks is the metal plate on the side of the block just under the head. Most other VW blocks have a flat spot. The G60's have large hole that goes into the coolant passages around the cylinders. It is sealed with a large oval shaped O-ring. I wonder how A1 G60 swaps deal with this? Will A1 side motor mounts seal the hole ok? Or do the motor mounts just get bolted over the plate?
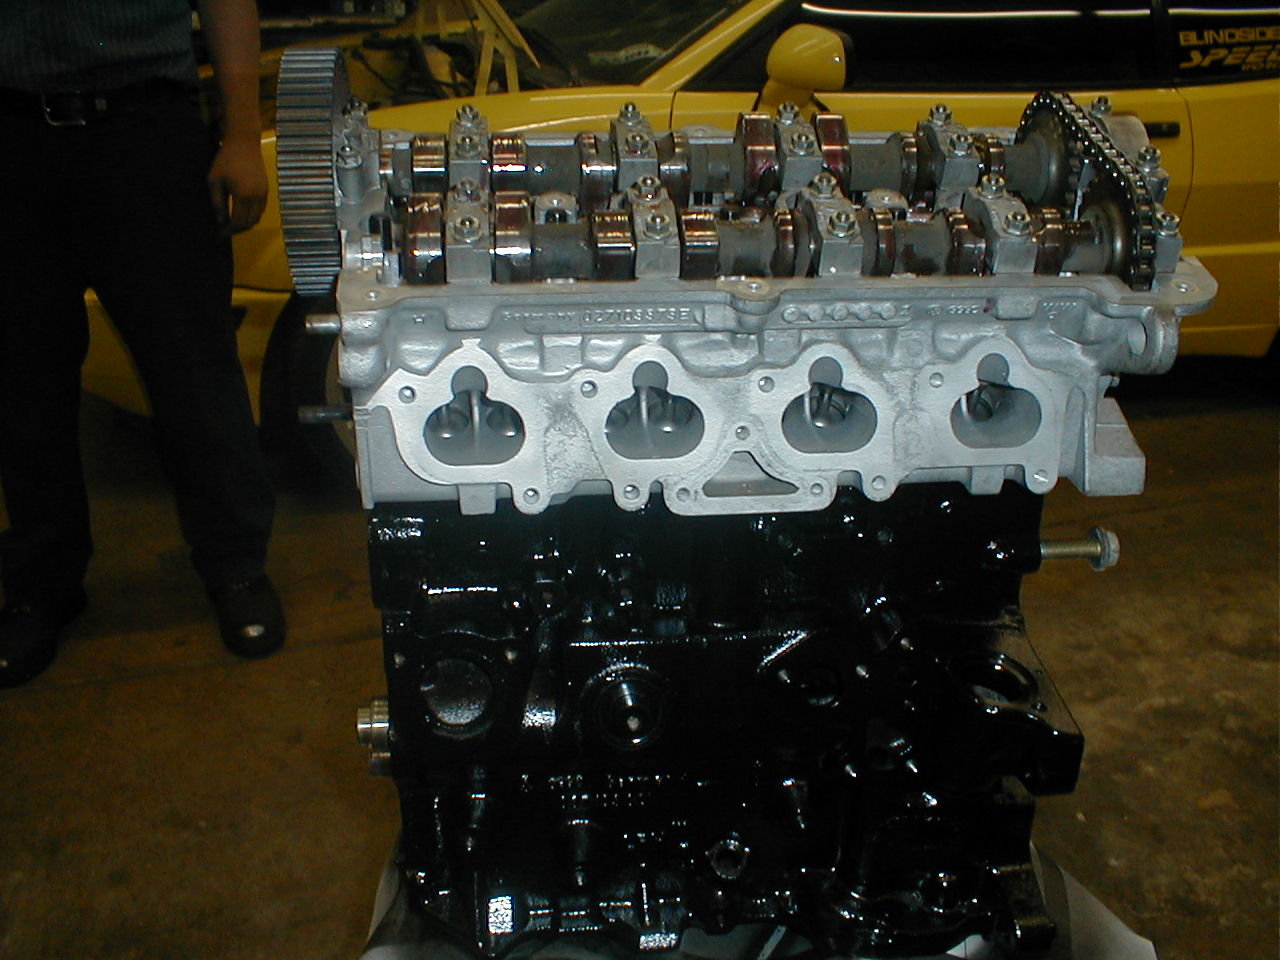
Now this is starting to look like a motor. In the background, you can see the lucky 90 Corrado. It's been close to two years since this car has seen the road.
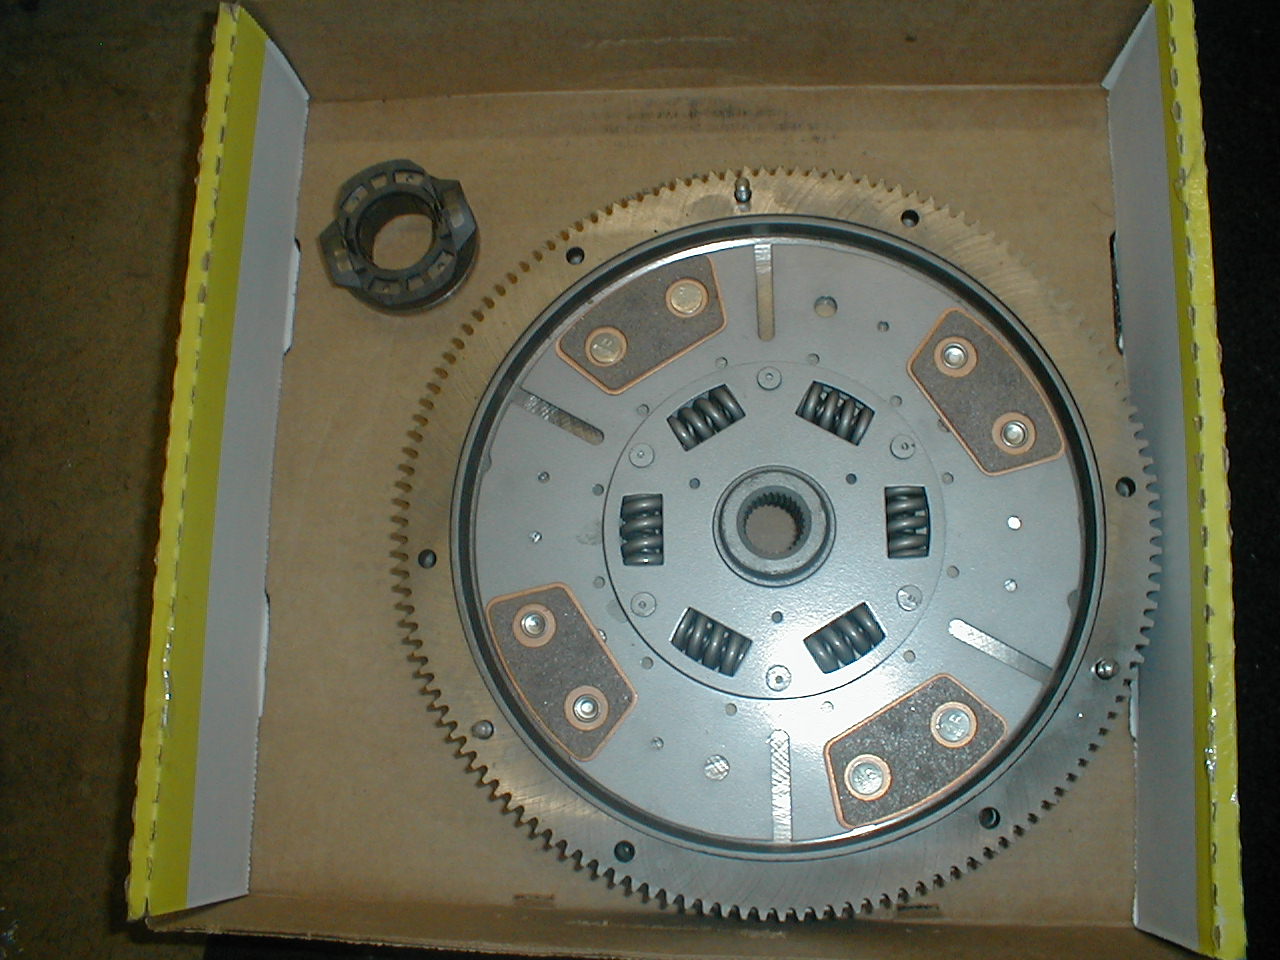
This was supposed to be a 12 puck racing clutch disc with a sprung hub, but my buddy used the stock disc. I got the new one ordered today. This one will still make a great clutch, anybody want to buy it a good upgrade for G60? the lower number of pucks increases clamping force and the ceramic pucks really grab good. I managed to strip all the teeth off of second gear in my Scirocco with a ceramic clutch. Talk about a lot of really bad noise in the middle of the road, not to mention the fact that the car is not going anywhere! Where would I be with out a rev-limiter?
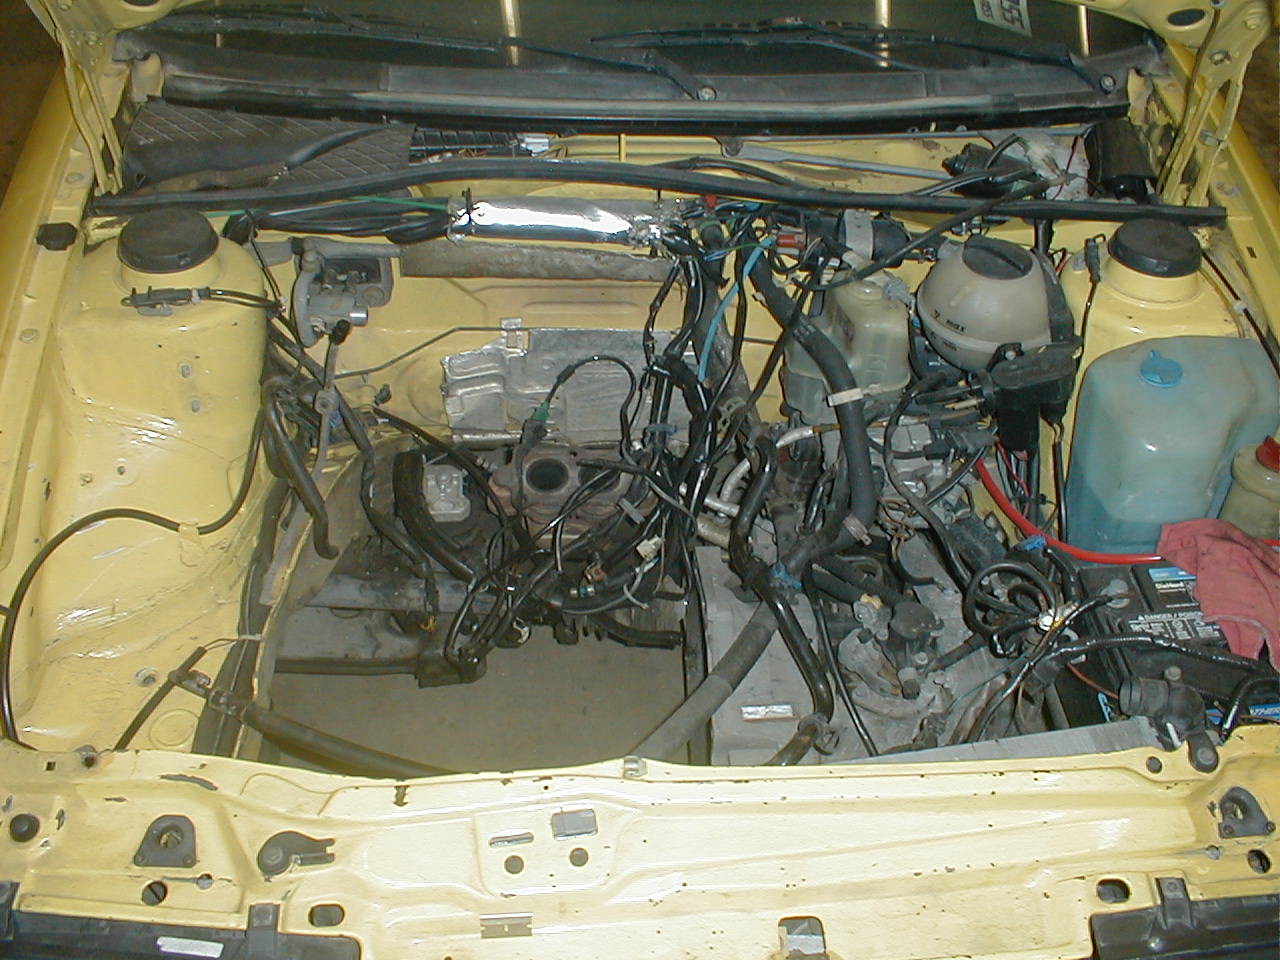
Anybody remember where all those wires go? Send me an I/M.........hehe. Been at least 6 months since we pulled this car apart, going to be fun. We have cleaned most of the grease out of the engine bay. Next, we use a heavy duty cleaner to melt all the road grime off the wiring and compartment. Should have all the wiring , hoses and paint looking near new.
The intake, valve cover and many various other parts were sent off to powder coating today. Should be back soon in a nice pretty shiny gloss black.
Next photo set should be fun. We get to try and figure out the jigsaw puzzle of the G60 limited 16V kit. They don't really come with much in the way of instructions! Jason at Bahn Brenner is going to get to know me very well in the next couple of weeks.......